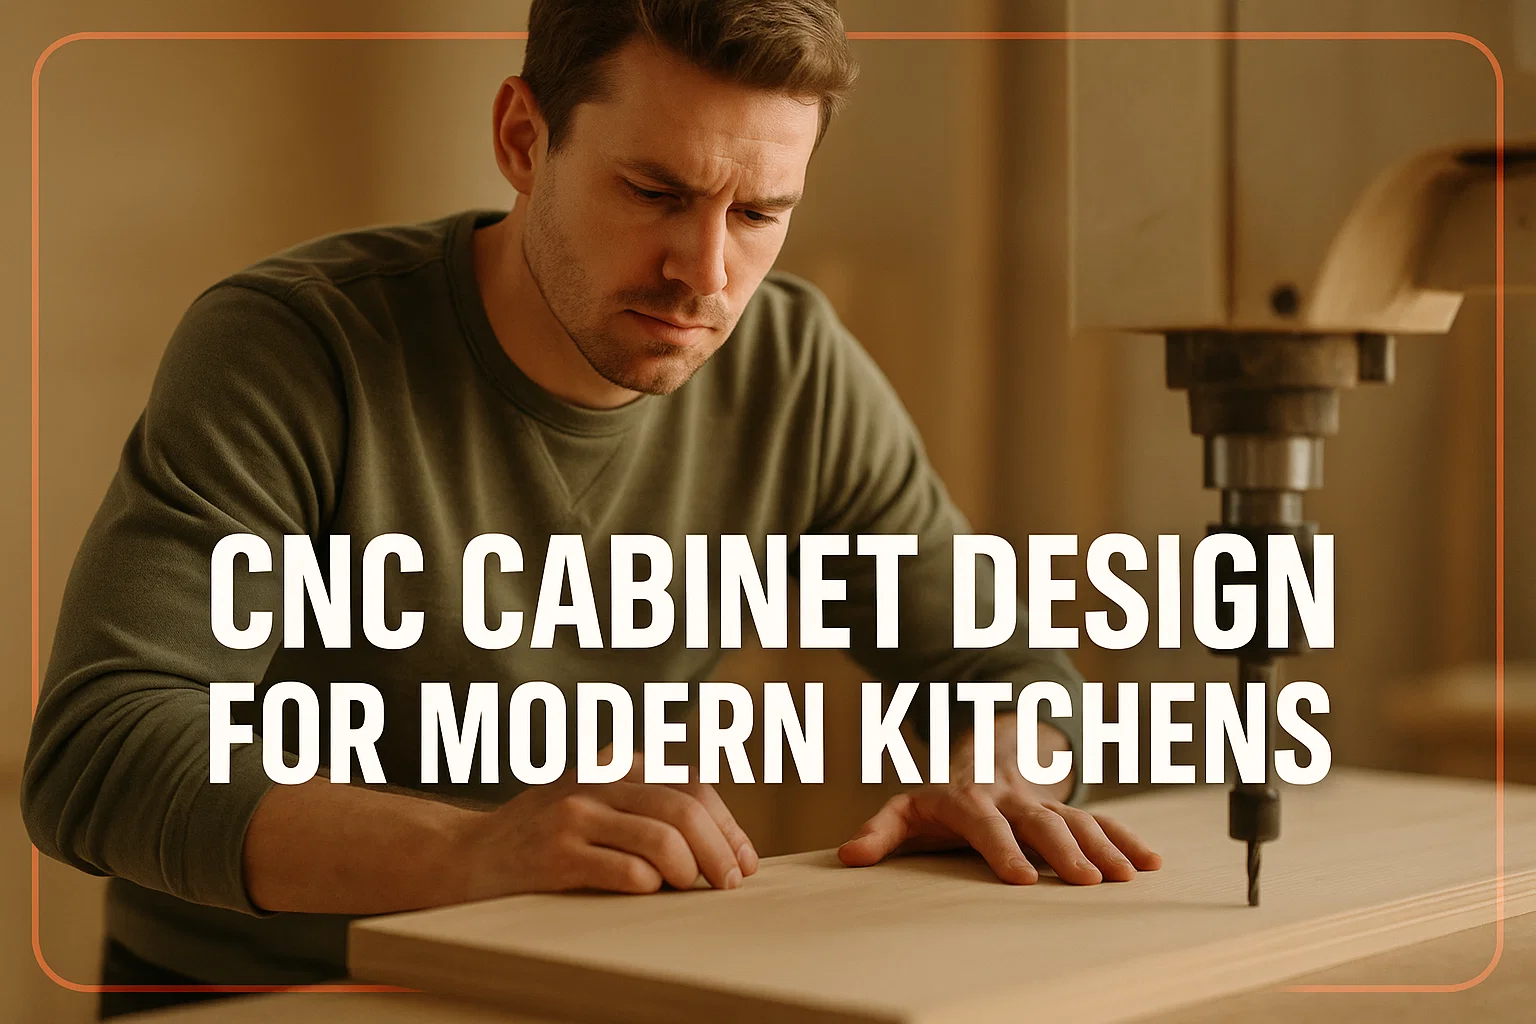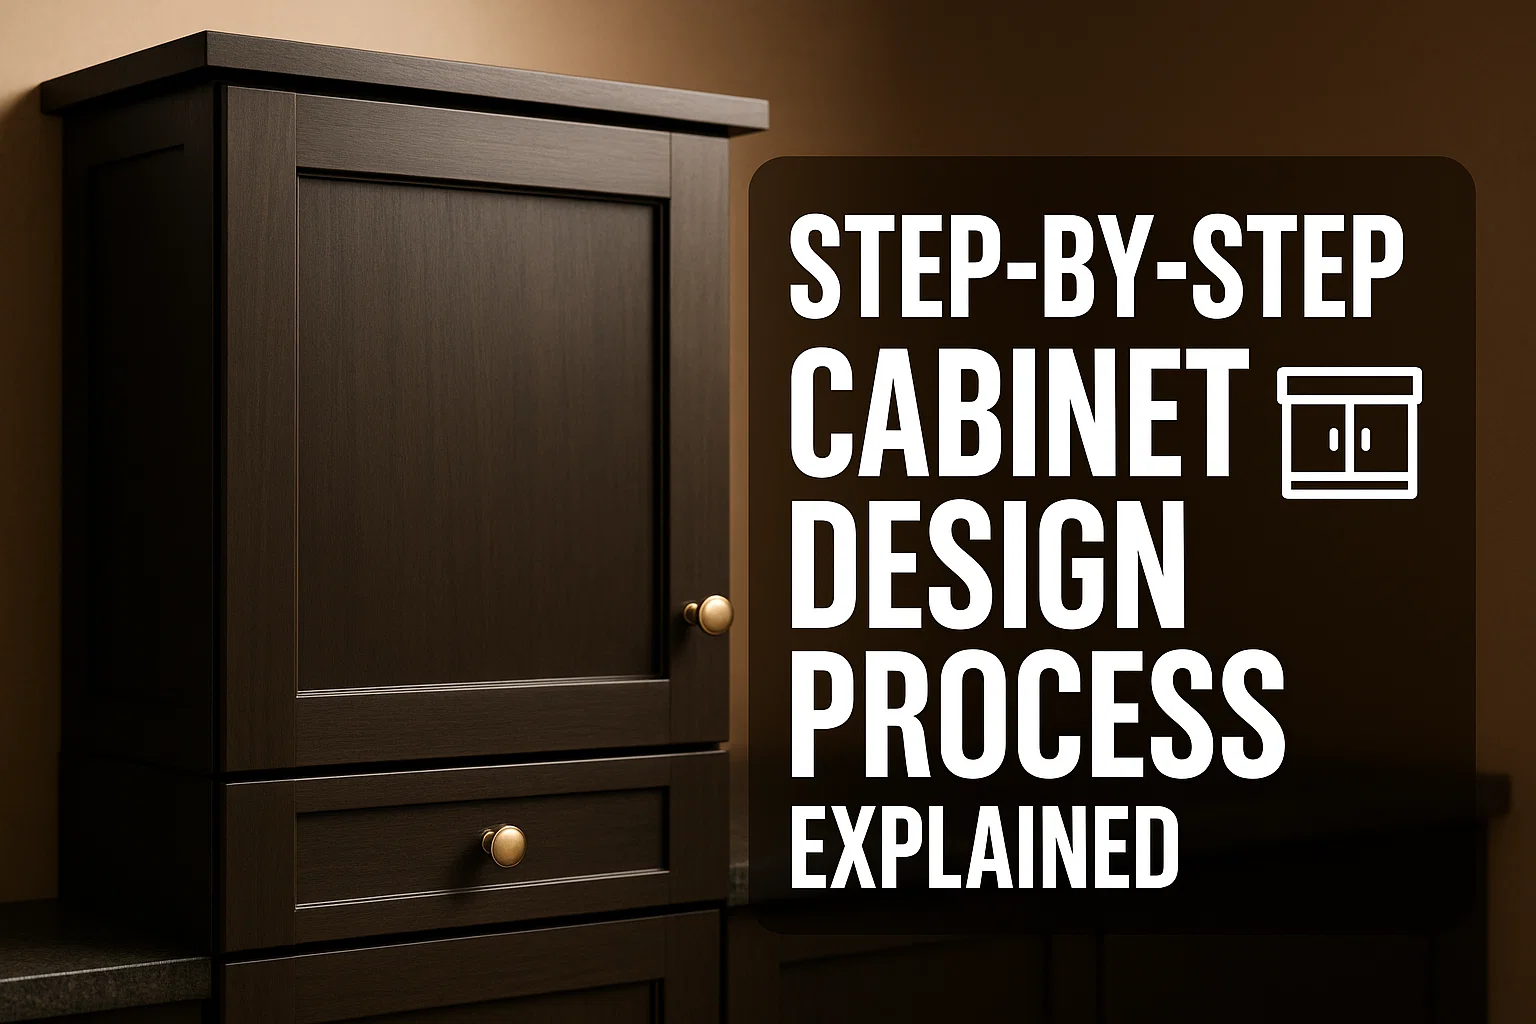
Step-by-Step Cabinet Desi
Thinking up new cabinets for your kitchen, bathroom or modesty space can be overwhelming. From your measurements to the final install, every part matters when you are creating storage solutions that match your style, your budget, and your needs. So, whether you’re choosing a complete room remodel or just refreshing your cabinetry, knowing the step-by-step process of designing cabinets means you’ll feel comfortable with each decision and step down your cabinets’ new path.
This blog explains step-by-step cabinet design so you can see exactly what to expect before, during and after your project.
Planning Your Cabinets? Here’s What to Expect
Before we get to the design details, let’s first explore the overall workflow. The stages of a custom cabinet design project will usually follow this sequence:
- In-home measurement and consultation
- Style and finish selection
- Design mockups (2D or 3D)
- Review and approval
- Fabrication or ordering
- Delivery and installation
- Final walkthrough and care instructions
Every bit builds on the last to make sure your cabinets are functional, gorgeous, and above all, built to last. Let’s break down each stage further.
Step 1. On-Site Measurement & Consultation
It’s where every cabinet job starts: accurate measurements. An in-home visit to measure walls, ceilings, floor levels and the location of existing fixtures will be coordinated by your design team or contractor. This consultation is an important part of the process, as even a small mistake when measuring can cause big problems down the line.
During this appointment, you’ll discuss:
- What you want the space to achieve additional storage, better organization, a fresher look
- Your budget and timeline
- Additional things to consider (appliances, plumbing, electrical)
- First ideas about the arrangement and the contents of the cabinet
Now is also a good time to show inspiration images, or point them in the direction of their dream style. Effective communication helps your designer get a crystal clear vision of what you have in mind.
Step 2. Choosing your Style and finish
After your measurements are finalized, you’ll move onto the fun part — choosing cabinet styles and finishes.
You’ll usually be offered a variety of options, among them:
- Door styles: Shaker, flat-panel, inset, raised-panel
- Wood materials: Maple, cherry, oak, hickory and more
- Stains and paints: Classic white to deep espresso
- Hardware: Knobs, pulls, soft-close hinges, and specialty items
- Special features: Pullout shelves, lazy Susans, spice racks and lighting options
Don’t rush through that part. Your designer can pull samples or pictures of past projects to combine with your selections and give you a visual feel for the room. Keep in mind, finishes can appear quite different under different lighting, so it’s prudent to see samples in your own space.
Step 3. Design Mockups (2D/3D Renderings)
")
Once you’ve settled on initial styles, your designer will then draw up detailed mock-ups of your cabinets.
These can include:
- 2D floor plans, to illustrate the layout from above
- Elevation drawings showing the height and size of cabinets on each wall
3D renderings so you can get a sense of what everything will look like in your space
Mockups serve two key purposes:
- They make certain all their products fit well in your room scale.
- They assist you in making any changes before the fabrication starts.
If you’re unclear about any detail, cabinet height, hardware placement, finish, this is when to ask questions or propose changes. Changes are much easier to implement here than once we are in production.
Step 4. Review & Final Approval
As soon as you have checked your test prints and are happy with every detail you will confirm final approval.
At this point, you’ll typically:
- Sign off on the design plans
- Confirm material selections
- Approve project timelines and costs
Most businesses will require a deposit to purchase materials and book production time.
Read the details of all specs very closely before signing it. This is your chance to ensure that every measurement, finish and feature is just as you want it.
Step 5. Custom Fabrication or Ordering
Once approvals are obtained, construction is initiated. Shererah, whose kitchen is expected to cost about 7,500 pounds (just over $10,000) without appliances, said that her cabinets are bespoke, meaning they are fully custom made: Once she has a design she’s happy with, it will be sent to a workshop, where experienced makers build each cabinet to a customized design.
semi-custom or stock cabinets, you will place an order with the manufacturer and the cabinets are built per your selections.
Manufacturing schedule will be varied according to:
- The complexity of your design
- The materials chosen
- The production load
On average this step will take 4 to 12 weeks. The project manager for your assignment should communicate project status and delivery date.
Step 6. Delivery & Professional Installation
Once your cupboards have been built, your team will arrange a date for their delivery and installation.
Professional installation is crucial to keep level, secure and operational. During this phase, installers will:
- Remove old cabinetry if necessary
- Prepare walls, floors, and ceilings
- Install hardware, trim, doors and boxes
- Make the necessary corrections to be in perfect alignment.
Installation is a process that can range from a couple of days to more than a week, depending on the size of the project.
It’s not unusual for your home to get a little dusty and noisy during this time, though experienced crews will lay down drop cloths and clean up when they’re done.
Step 7. Final Walkthrough & Care Instructions

Your installer or project manager will visit with you for a final walk through before shutting down your project officially.
Together, you’ll:
- Inspect all cabinets and hardware
- Test the doors, drawers, and unique features
- Make sure everything is as you expected it to be
- And if you see anything amiss, your team can usually remedy the problem on the spot or make plans to come back.
Finally, care instructions for the custom cabinetry you’ve purchased are included. That will include cleaning product recommendations, proper maintenance, and what protection the warranty provides.
Conclusion
Changing out your cabinets is one of the most dramatic enhancements you can make in your kitchen and Clear View wants to earn your preference in transforming your space. By adhering to a detailed cabinet design process, you will have a seamless build of your new cabinets.
By working with a seasoned design professional, you can relax knowing that no detail will be overlooked, and that you will enjoy your beautiful, functional cabinets for years to come.
If you are planning to start your cabinet project, contact us at Custom Cabinet TX, a reputable cabinet designer in Texas, for consultation appointment and get started on your dream space.